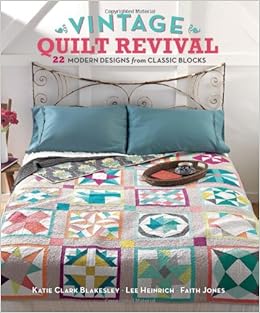
When I saw this photo on
Katy’s Instagram feed, I knew I had to make it. What’s not to love about a scrappy bear paw?

Since I make a lot of baby quilts for our “Wrapped in Love” group, I decided to make it charm square friendly and only make one oversized block.
Here’s what you will need
- Sixteen 4 1/2” blocks from assorted prints
- four 4 1/2” blocks from background fabric
- Eight 5” squares from background fabric
- Eight 5” squares from assorted prints
- Two 2 1/2” strips cut WOF (these will be cut into four 12 1/2” strips)
- One 2 1/2” block from print fabric
- Four 4 1/2” strips cut WOF
To make sixteen half square triangles
Select eight 5” print squares and eight 5” background squares and put right sides together. Draw a diagonal line.

Stitch a scant 1/4” away from both sides of the drawn line.
Make sure your stitching is a scant 1/4” away

After stitching both sides, cut apart on drawn line

Open triangle and press to dark side, then trim to 4 1/2” square

Each sewn pair of 5” squares will yield two identical triangles. If you want more variety, you will need to make additional pairs. You can always save the duplicates for a second quilt.

If you haven’t already done so, cut four 12 1/2” strips from the WOF 2 1/2” strips.
Following this diagram, lay out your block making sure the triangles are oriented according to the pattern and that you are pleased with the color combinations.

When you assemble your block, assemble each quadrant like you would a 9 patch block.


Make all four quadrants, then join the sashing strips

Join one 12 1/2” strip to the right sides of the top left and bottom left quadrants
Join the top two quadrants
Join the bottom two quadrants
Join the two remaining 12 1/2” strips to the center 2 1/2” square
quilt top should now look like this

Add the borders for a finished top

Quilt as desired. I did diagonal straight line quilting about 1” apart. After washing and drying the quilt measures 32 1/2” square.

American Jane Pezzy print on the back

If you don’t want to make it with charm squares, just substitute four 8 1/2” squares for the sixteen 4 1/2” squares.

Did I tell you I like the Bear Paw block? One of my first quilts was a bear paw. I hand quilted this one and soon thereafter decided I needed to learn how to machine quilt.


